Mastering 3D Rigging: The Art of Creating Dynamic Digital Skeletons
Welcome to the fascinating world of 3D rigging, a cornerstone of the animation and visual effects industry. Whether you’re creating characters for video games, animated films, or virtual simulations, understanding 3D rigging is essential for bringing your models to life. In this blog post, we’ll explore the intricacies of 3D rigging, breaking down its components, processes, and best practices to help you create dynamic and flexible rigs for your digital creations.
What is 3D Rigging?
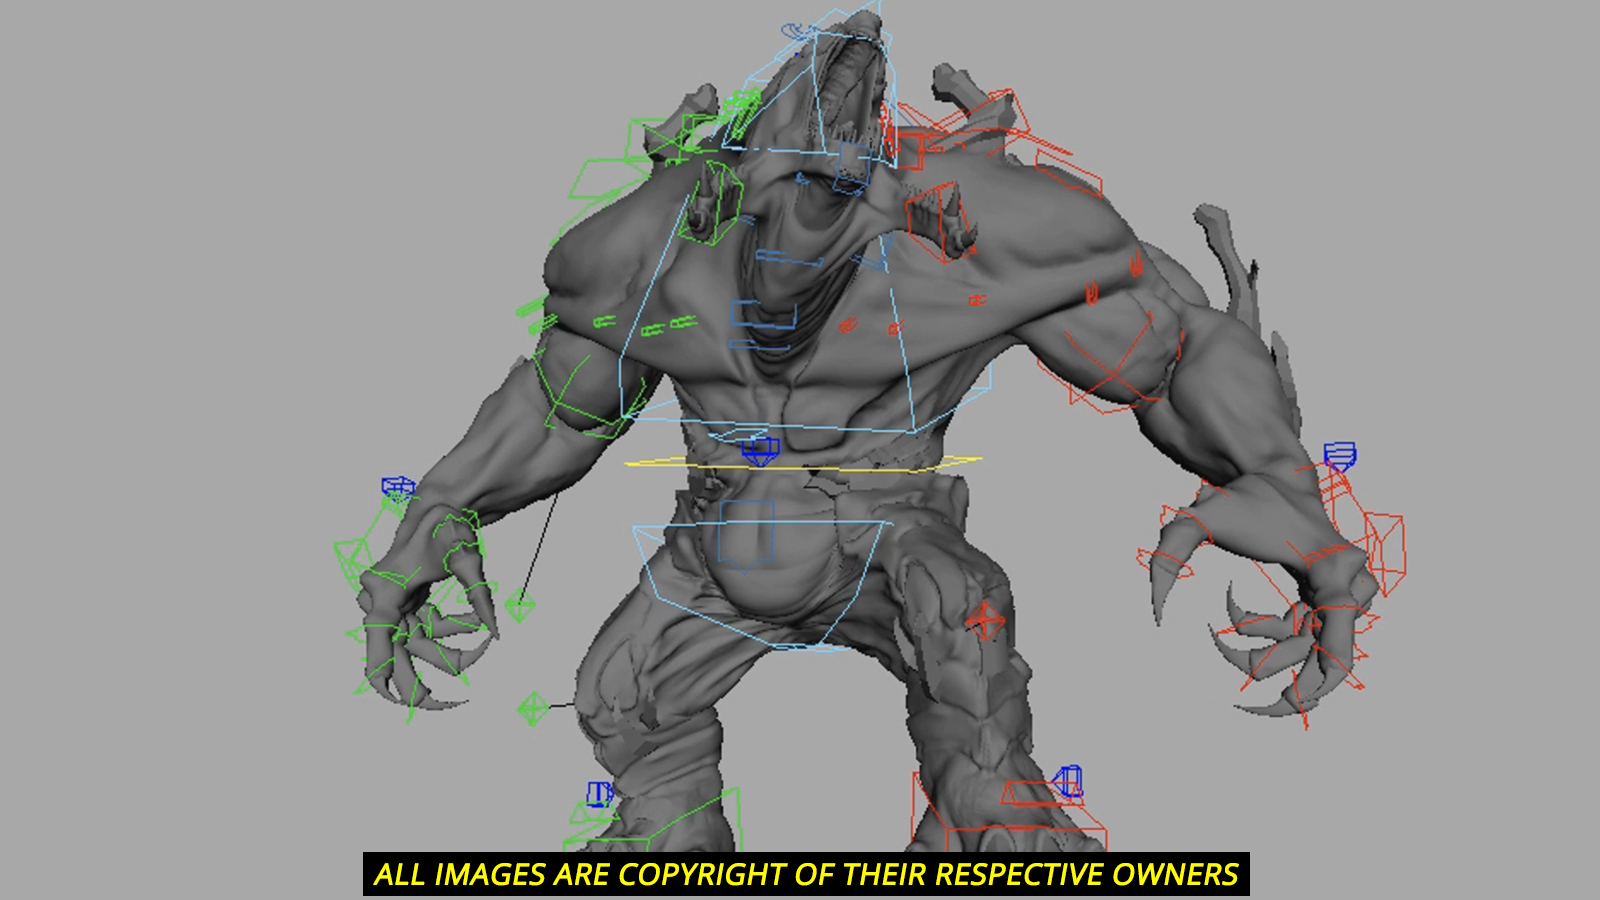
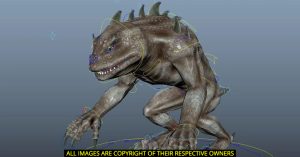
3D rigging is the process of creating a digital skeleton for a 3D model, enabling it to move, pose, and interact in a lifelike manner. Just like the skeleton in a human body supports and facilitates movement, a rig provides structure and functionality to a 3D model, allowing animators to manipulate it efficiently.
Key Components of a 3D Rig

- Bones: These are the fundamental elements of a rig. Bones serve as the structure of the rig, defining how the model will move. They are usually placed within the 3D model to mimic the skeletal structure of the character or object.
- Joints: Joints connect the bones and act as pivot points where movement occurs. They play a crucial role in ensuring that the rig moves in a realistic manner, allowing for natural bending and rotation.
- Controllers: Controllers are user-friendly tools that animators use to manipulate the rig. They provide an intuitive interface for posing and animating the model, making the process more accessible and less technical.
- Constraints: Constraints are rules that control how different parts of the rig interact with each other. They help ensure that movements are realistic and that parts of the rig stay aligned correctly. For example, a constraint might ensure that a character’s hand follows the movement of their arm.
The Rigging Process
- Model Preparation: Before you start rigging, ensure your 3D model is clean and well-prepared. Remove any unnecessary geometry and ensure that the model’s topology is suitable for rigging.
- Skeleton Creation: Begin by creating the skeleton for your model. This involves placing bones and joints within the model to define its structure. Pay attention to the placement of bones to ensure that they align with the model’s anatomy and movement.
- Skinning: Skinning, or binding, is the process of attaching the 3D model’s mesh to the rig. This step involves defining how the mesh deforms when the rig moves. Proper skinning ensures that the model’s surface moves naturally in response to the rig’s movements.
- Controller Setup: Add controllers to the rig to make it more user-friendly for animators. Controllers provide handles for manipulating the rig, making it easier to pose and animate the model without directly interacting with the bones and joints.
- Constraints and Relationships: Set up constraints to define how different parts of the rig interact. This might include setting limits on joint rotations or creating relationships between different controllers to ensure smooth and realistic movement.
- Testing and Refining: Test the rig by posing and animating it to ensure that it behaves as expected. Check for any issues with deformations, joint movements, or controller functionality. Refine the rig as needed to address any problems and improve its performance.
Best Practices for 3D Rigging
- Plan Ahead: Before you start rigging, plan out the rig’s structure and functionality. Consider the types of animations the model will need to perform and design the rig accordingly.

- Maintain Clean Topology: Ensure that your 3D model has clean and consistent topology. Poor topology can lead to issues with skinning and deformation, making the rig less effective.
- Use Naming Conventions: Establish clear and consistent naming conventions for bones, joints, and controllers. This will help keep your rig organized and make it easier to work with.
- Prioritize Usability: Design controllers and constraints to be as user-friendly as possible. The goal is to make it easy for animators to pose and animate the model without dealing with complex technical details.
- Iterate and Improve: Rigging is an iterative process. Don’t be afraid to make adjustments and improvements based on testing and feedback. Refining the rig over time will lead to better results and more efficient animation.
Conclusion
3D rigging is both an art and a science, requiring a blend of technical skill and creative problem-solving. By understanding the key components of rigging, following best practices, and continually refining your approach, you can create rigs that empower animators to bring their characters and objects to life with fluidity and realism.
So whether you’re rigging a character for an epic video game or a charming animated short, mastering the art of 3D rigging will unlock new possibilities and elevate your work to new heights. Happy rigging, and may your rigs always be flexible and your animations captivating!

